Overview
- The strips between stalls are the first to go, as they’re loaded every day with tires, doors, and bumpers.
- Crack width, crack pattern, and base condition will dictate the repair method.
- Accessible stalls and aisles must remain at or below a 2.08% slope after any patch.
- Phased work keeps most residents parked while crews work through each zone.
- Fresh stall lining and early crack sealing will protect the repair for years.
ADA.gov parking standards limit an accessible stall to a 2.08% slope in either direction (roughly a quarter inch of drop per foot). That’s such a tiny margin that you can see how little room there is for error in the pavement strips between parking spaces. That’s why we treat those strips as precision work rather than just patching. Every resident turns the wheel whilst parked, every resident swings a door against the edge of the pavement, and every resident rolls a stroller or a grocery cart across those same strips. Over time, those small loads build up into cracks, raveling, and low spots that grab a tire and collect water.
We see the same thing in the garden-style communities in Atlanta, Phoenix, Dallas, Charlotte, and Chicago. The tire scrub shears the surface where the wheels pivot at the stall edge. The bumper overhangs push rain and snowmelt toward the stall line. Moisture stays in that strip much longer than in the drive aisle. In the Upper Midwest and the Northeast, the freeze/thaw cycles will literally work the hairline cracks open. In Arizona, Texas, and Florida, UV exposure will dry out the binder until it becomes brittle and crumbles. Moving trucks, trash trucks, and delivery vans all add weight that the stall edges are rarely designed to carry.
Paint will hide a lot of this. Fresh stall lines will cover a crack for a season. The problem often shows up only after the line fades and the crack opens. We recommend walking every row after the first good downpour or thaw. Standing water will highlight weak spots far better than any survey.
Reading the Damage Before Any Crew Cuts or Fills
We don’t pick a repair method until we’ve classified the damage. A narrow crack, a spiderweb of alligator cracking. A sunken seam all require three different types of repair, and the wrong one will fail within a season. The crews will measure the crack width, trace the pattern across several stalls, and probe any soft spots to check whether the base has lost strength.
As a working rule, we seal cracks from about 1/8″ to 1″ wide when the surrounding pavement is solid. Minnesota’s Maintenance Field Guide deals with crack treatment, surface treatment, and pothole repair in much the same way. If the cracks are interconnected, there’s pumping of fines, or the surface is spongy, then you’ve got a failed base, and sealing that up is just going to trap the water. In that situation, we remove the pavement and rebuild the base. For a summary of the difference between filling and sealing, see the crack repair techniques article, which explains why the pavement will continue to relieve pressure after a crack has been treated. That’s why we also look at the adjacent stalls.
Repair Methods Matched to Each Type of Stall Damage
The table below shows how we match the repair to the damage between parking spaces. Each method fits a specific scenario, and choosing the right one helps owners avoid paying twice.
| Damage between stalls | Likely cause | Repair method we use | Stall back in service |
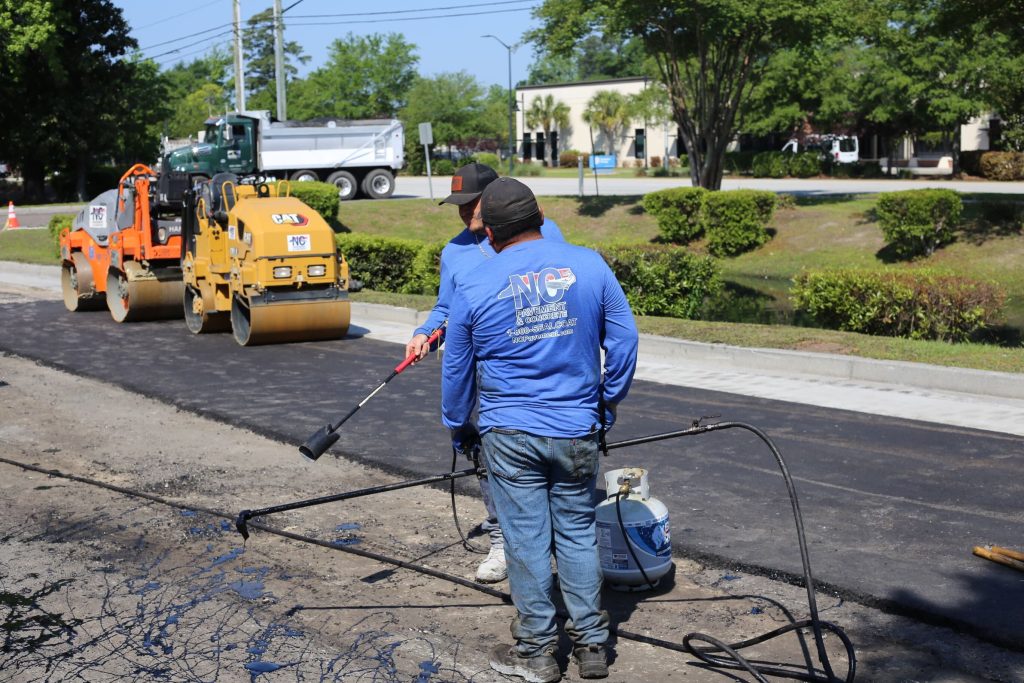
| Hairline to one inch cracks, firm surface | Thermal movement, aging binder | Clean with forced air, then seal with hot rubberized sealant | After the sealant cools, usually within hours |
| Raveling or loose surface along the stall line | UV oxidation, tire scrub | Mill the strip and place a hot mix surface patch | Same day once the mix cools |
| Alligator cracking, soft spots | Weak base, trapped water | Saw cut, full depth removal, base repair, hot mix patch | Same day to next day |
| Sunken seam or birdbath | Base settlement, poor drainage | Remove the low area, rebuild the base, restore the slope | Same day to next day |
| Crumbling edge at a concrete or curb joint | Movement between materials | Cut back, patch, and seal the joint | After the sealant cools |
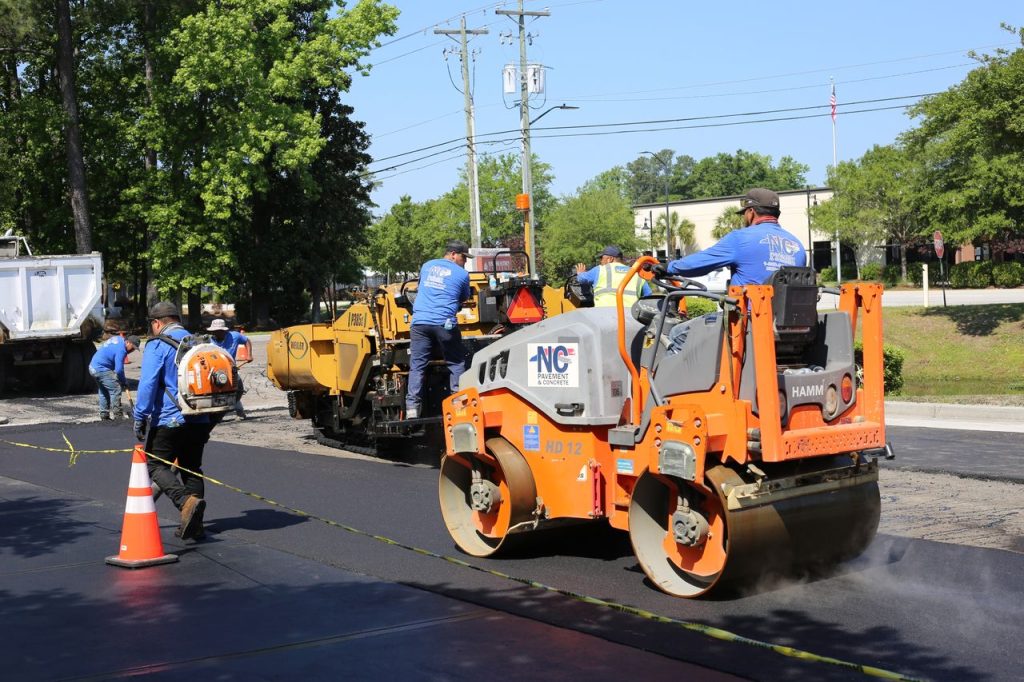
Patch geometry matters as much as material. We saw a cut that creates a clean rectangle that extends about twelve inches past the visible damage. Cracks always run farther than the eye can follow. We remove the failed material, apply a tack coat to the vertical edges. We place hot mix in lifts no thicker than two inches so each lift compacts to full density. Then we seal the patch perimeter, since the joint between old and new pavement lets water in first. A patch that ignores these steps looks fine for a month and ravels by the next winter.
Protecting Accessible Stalls and Access Aisles During Repair
Accessible parking requires much tighter tolerances than any other stall in the lot. Under the ADA, the accessible space must be at least 96″ wide, have an access aisle of at least 60″ wide, and have a firm, stable, slip-resistant surface. The space and aisle must be level with each other, with no change in level between them. Our crews check the slope with a digital level before and after every patch, so a patch will never introduce a lip, crown, or dip that would take the stall past the 2.08% limit.
We also keep these stalls open as long as possible during the construction period. If the work means an accessible stall isn’t available, we will move it temporarily with appropriate signage and a short-level route to the building entrance, then restore it to its original position before demobilization.
Phasing the Work Around Residents and Leasing Traffic
A full lot closure is the bane of the residents and a massive headache for the leasing office. We address this by splitting the lot into zones and working on one zone at a time. The example below is of a 120-stall community split into four zones of 30 stalls each.
| Work day | Zone | Stalls offline | Activity |
| Day 1 | A | 30 | Cut, remove, patch, and seal cracks |
| Day 2 | B | 30 | Cut, remove, patch, and seal cracks |
| Day 3 | C | 30 | Cut, remove, patch, and seal cracks |
| Day 4 | D | 30 | Cut, remove, patch, and seal cracks |
| Day 5 | All zones | 0 to 30 | Restripe and final walkthrough |
This sequence keeps about 75% of the stalls open each day. The property managers will assign displaced residents to the open zones, the guest areas, or the adjacent overflow lot, and our crew leader will walk the property each morning to check which rows are closed. On average, each zone typically takes one to two days to complete, depending on the weather and the complexity of the repairs in that area. For example, a 30-stall section can often be finished within two days, allowing managers to plan resident notifications and parking adjustments with confidence. We start with the carport rows and tight garage approaches, as they need the most attention. It also lets us protect leasing tours, move-in days, and package deliveries so the work doesn’t impact revenue.
Restoring Stall Lines, Layout, and Curb Protection
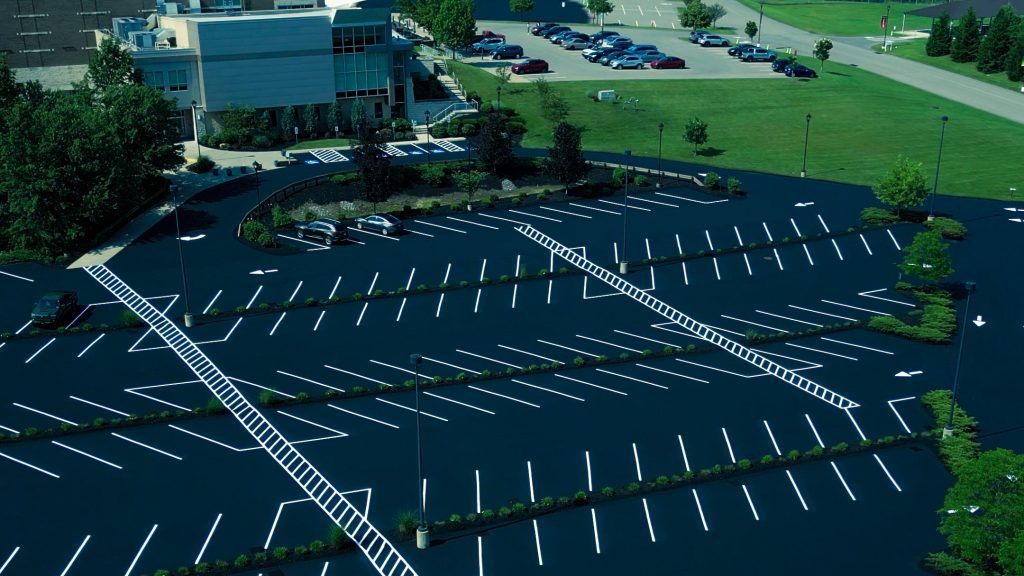
Repair without restriping leaves residents completely in the dark about where they can park. We restripe from the as-built so the number of stalls, their width, and their angle all match what the community had originally. Most apartment stalls are 8.5 to 9 feet wide, and we measure from the as-built layout marks rather than eyeballing the lines. We re-hatched the accessible stalls with new access aisle hatching, symbols, and signage to the standard. We use traffic-grade paint that cures quickly enough to re-open the zone the same day.reopen
Stall edges will often have a block in them that protects the sidewalk, a landscaped bed, or a building wall. If you’ve got a damaged block in the middle of a repair zone, we recommend reading our concrete wheel stop replacement guide before closing the job. If you’ve got dark stains and soft asphalt appearing underneath parked cars, our oil and fluid leak article explains how those leaks soften the surface and reduce the life of a new patch.
Protecting the Repair With Early Crack Sealing
A good repair only gets its value when the rest of the pavement is sealed. Crafco’s parking lot guide rates crack sealing as the most cost-effective method of pavement preservation, and that’s exactly what we’ve found across the country. A lot sealed every year needs far fewer base repairs, far fewer patches, and significantly less disruption. The owner who waits until cracks become potholes ends up paying more for the same stall and then pays again when residents complain about damaged tires and rims.
Schedule a Stall-by-Stall Assessment With The Pavement Group
The Pavement Group works on apartment communities across the country, from small garden apartments to large multi-building developments. We inspect every row, measure every crack, and give the owner a written scope that states the method we’ll use to repair each damaged strip. We then complete the repairs around residents, protect the accessible stalls, and restripe the lot so it looks absolutely new again. Get in touch with The Pavement Group today to have a property assessed, and we’ll repair the pavement damage between your parking spaces before the next season does it in.
Repair Pavement Damage Before It Gets Worse
Damaged pavement between parking spaces can lead to safety concerns, drainage problems, and more extensive deterioration. The Pavement Group provides professional pavement repair solutions to help apartment owners maintain safer, smoother, and more durable parking areas. Contact us to discuss your property’s pavement repair needs.
Contact Us TodayFrequently Asked Questions
How much does it cost to repair pavement damage between parking spaces?
Cost depends on the repair method, the extent of the damage, and the local labor and materials market. One parking operations guide has crack sealing at around $0.10 to $0.25 per linear foot on good lots and full replacement at $3 to $6 per square foot or more. Spot repairs somewhere in between will vary depending on the depth of the patch, the base repair, and the number of mobilizations. We always provide a written, line-item quote after an on-site walkaround, as a per-stall estimate based purely on photos will very often miss the base failure. Owners who combine a number of small repairs into one visit typically spend less per stall than those who do the repairs one row at a time.
Can our maintenance team use cold patch for these repairs?
Cold patch will work as a temporary fix for a pothole in a wet or freezing situation. It doesn’t bond or compact like hot mix, so it tends to come loose when tires turn over it again within weeks. You can use it to keep a stall safe until a crew gets over, but you must plan to remove it and install a proper saw-cut patch. We also advise against burying a cold patch over standing water or a soft base, as the water will be working underneath it. A short-term fix is cheap; repeated short-term fixes cost more than a single proper repair.
What time of year works best for stall repairs?
Hot mix patches and hot rubberized sealant work best when the pavement is dry, and the air temperature is in the moderate range. In the Sun Belt, we’ll schedule the work in the cooler months or early in the morning so the crew can get the mix compacted before it stiffens. In the Northeast and Midwest, we’re looking at late spring through early fall, as that’s when asphalt plants tend to close down or at least reduce output in the deep winter. Rain delays vary by area, so we always build a weather window into the schedule. Booking early gives the owner the best choice of dates and keeps the work out of the peak move-in weeks.
Can tree roots or buried utilities cause damage between parking spaces?
Both can cause damage, and we look for them before any patch goes down. Roots from planter islands will lift the pavement and create a ridge, which then cracks along the stall line. A utility trench that settles after backfill creates a long, straight depression that looks like a seam failure. If we find either of those, we trace the source, cut the roots, or recompact the trench, then patch the surface. If we don’t, the same damage comes back within a year or two, no matter how well the patch is built.
How long should a stall repair last, and does the work carry a warranty?
A properly built patch over a sound base can serve for many years, and sealed cracks typically last several years before the sealant needs renewing. Performance depends on traffic, climate, drainage, and how well the neighboring pavement gets maintained. Warranty terms vary by contractor, so owners should request a written workmanship warranty that states what it covers and for how long. We also recommend asking whether the warranty covers the patch edges, the crack sealant, and the striping separately. A clear warranty shows the contractor expects the work to last.
How much notice should we give residents before the work starts?
We suggest posting written notices at least a week in advance, with a second reminder two to three days before each zone closes. Each notice should list the zone, date, hours, alternate parking area, and a contact name for questions. Property managers should also check the lease and local towing rules, because some communities must follow specific notice periods before moving a vehicle. We supply cones, barricades, and signs, and we number each zone so residents can find their row quickly. Clear notice reduces tow calls, front-desk complaints, and blocked work areas.
Who carries the liability if a resident trips on a damaged stall edge?
Liability depends on state law, the lease, and the facts of the incident, so owners should confirm details with their attorney and insurer. In general, a documented, known hazard that goes unrepaired creates more risk than a hazard the owner fixed promptly. We advise managers to keep dated photos, inspection notes, and work orders for every repair, because those records show a reasonable maintenance effort. Our completion reports include before-and-after photos and locations, giving owners a clean file. Prompt repairs cost far less than a claim and protect the community’s reputation.
When should we seal coat the lot after these repairs?
We usually wait at least 30 days after hot mix patching before we apply a sealcoat, so the new asphalt can cure and any crack sealant can fully set. Sealcoating too soon can trap oils and leave a soft, shiny patch that never blends with the older surface. Brand new paving needs an even longer wait, so we confirm the timeline during the quote. When the budget allows, we schedule the sealcoat and restriping as one planned phase after the patching, so the lot looks uniform. That plan also gives residents one clean finish instead of two separate disruptions.
When does it make more sense to mill and overlay instead of patching?
As a rule of thumb, when patches cover roughly 25 to 30 percent of the lot, or when alligator cracking spreads across several rows, resurfacing starts to make better financial sense. Repeated spot repairs leave a quilt of patches that ravel at every edge and cost more each year. Milling the worn surface, repairing the base where needed, and placing a new asphalt layer resets the pavement and often improves drainage. We compare both options in writing, with the patch cost per year against the overlay cost over the same period. That side-by-side view lets owners and boards decide with numbers, not guesses.
About the Author
The Pavement Group specializes in asphalt engineering, pavement maintenance solutions, and data-driven asset management for commercial, retail, and multi-family residential properties. Utilizing advanced structural pavement evaluations and capital planning transparency, The Pavement Group works directly with property managers to extend pavement lifecycles, eliminate liability risks, and optimize long-term infrastructure investments.